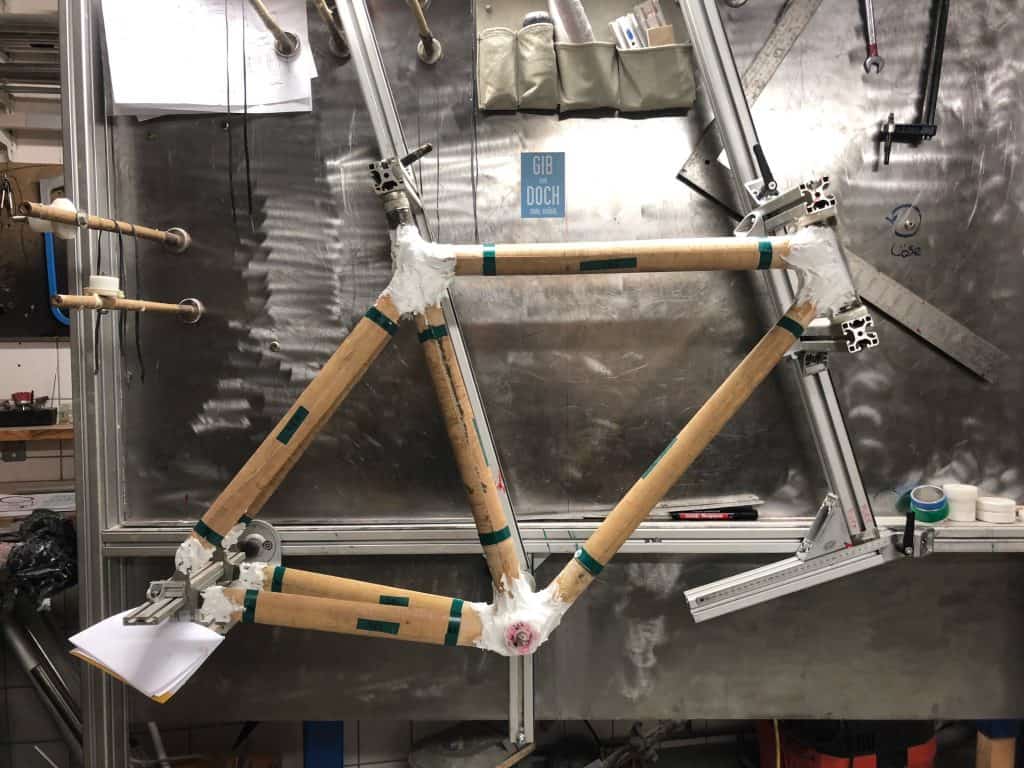
Today the bamboo bike frame will be brought into it’s final form, so it’s a very important day for the bike and me and all works should be made with with the highest precision possible. Seat post tubing, bottom bracket shell, steering tube and rear drop outs should be in the exact position as their positions can’t be changed later on and their positions are crucial for a good and straight forward ride characteristics, the bamboo bikes beautiful ridability.
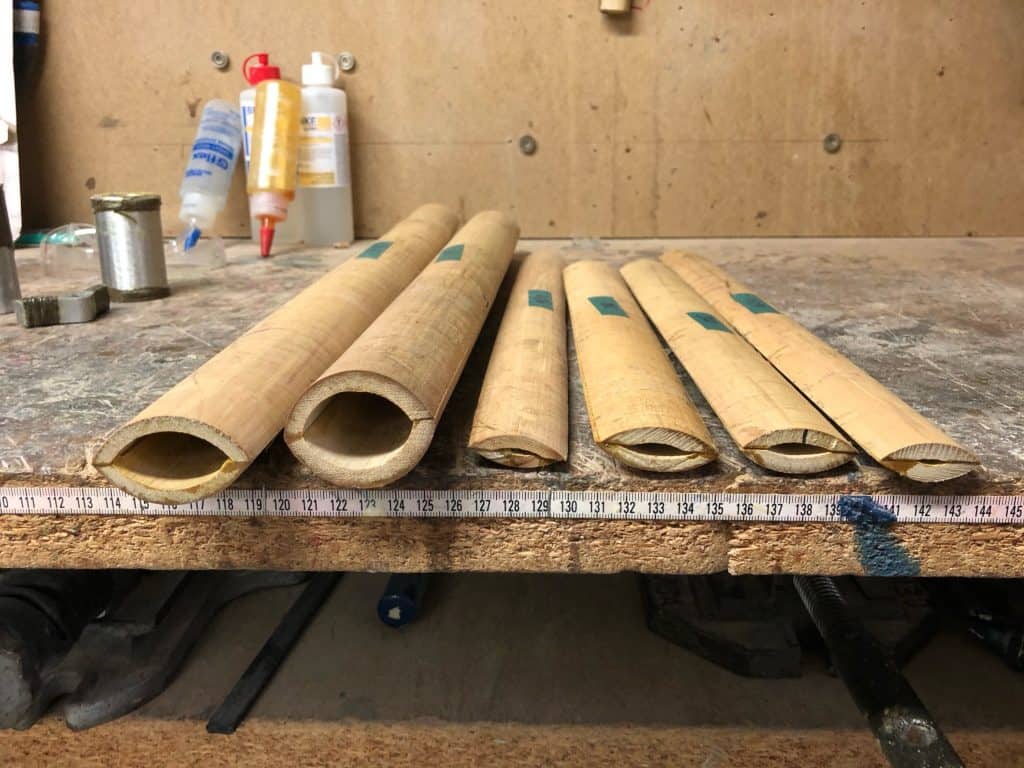
So first things first, I have unwrapped the bamboo tubes and marveled at them for a while.
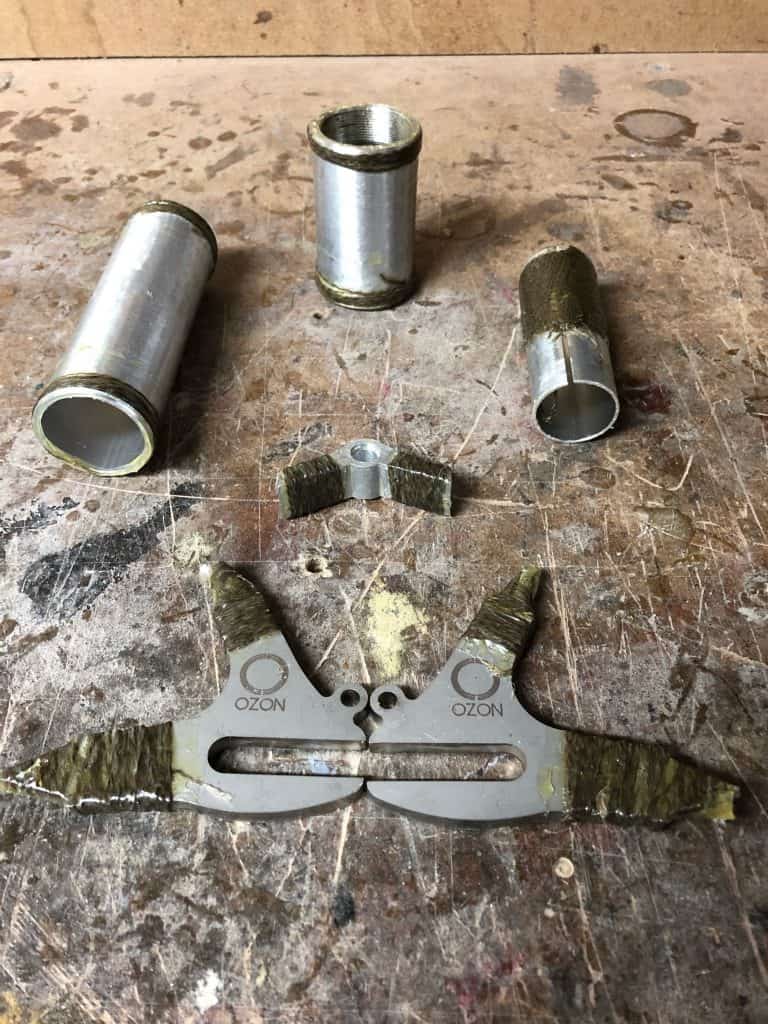
The unwrapped metal parts look good too.
All I need today is this:
- Sticky tape / insulating tape
- 5-minute-epoxy
- “standard” epoxy resin
- Microspheres
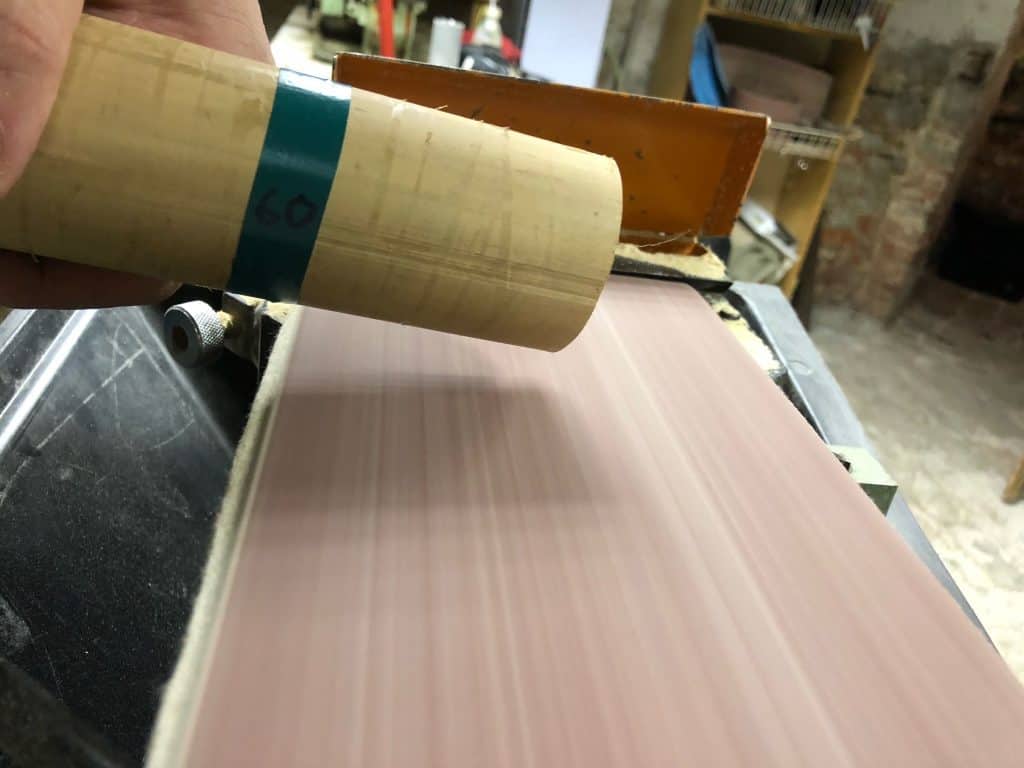
- sand paper (I used a belt sander – you should definitely get one)
The joints of each single tube with all metal parts are obviously very important son they should be treated with adequate care. The bamboo bike won’t fall into pieces if this is not done on a professional level, but if you want your bike to last for decades, it’s good to do this right. Epoxy resin in combination with flax fibre will for a composite material that is incredibly rigid and will keep the frame together. To make everything stick together bamboo and metal parts need to be sanded. Epoxy resin sticks better to bamboo and metal, if it’s sanded. I the technical drawings are the exact measurements of the sanded bits. It’s easiest, to mark the areas to be sanded with coloured insulating tape. Then the top layer ob bamboo should be sanded.
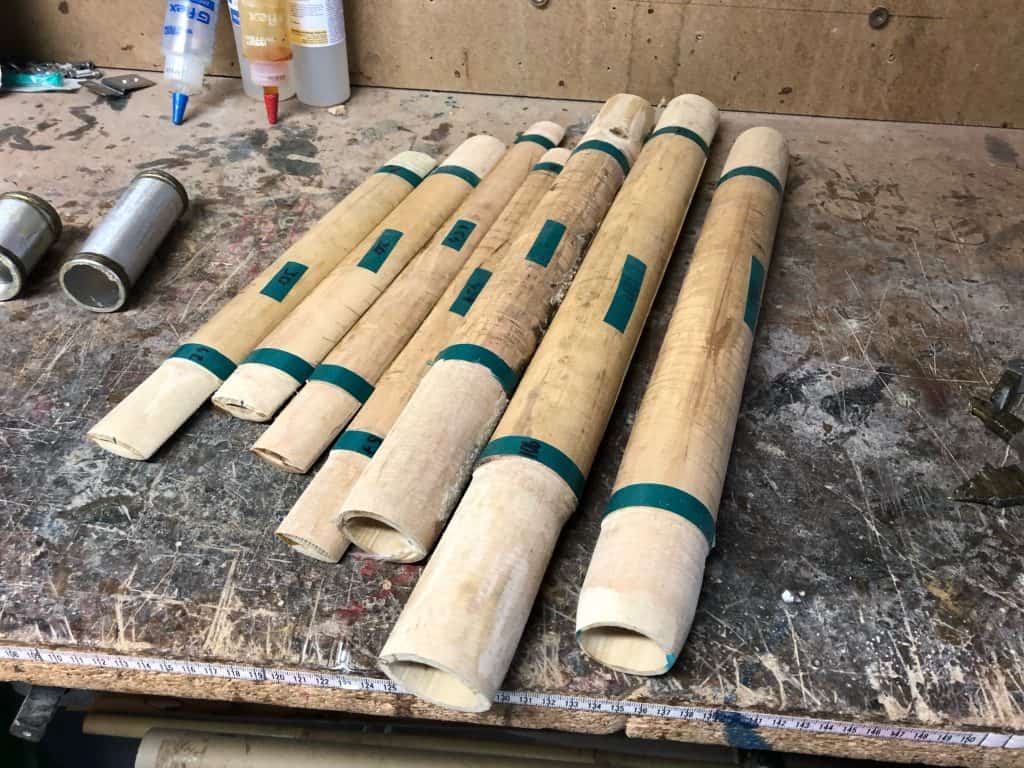
First all metal parts get fixated in the frame jig. As I said before, the exact position of these parts is crucial for a decent ridability of your bamboo bike. Afterwards the bamboo parts will be adjusted and added. The ends of all bam,boo tubes need to be cut in a specific angle and a triangle needs to be cut out for the rear drop outs, that averything fits properly. When everything fits and looks right, the parts get glued together with 5-minute-epoxy.
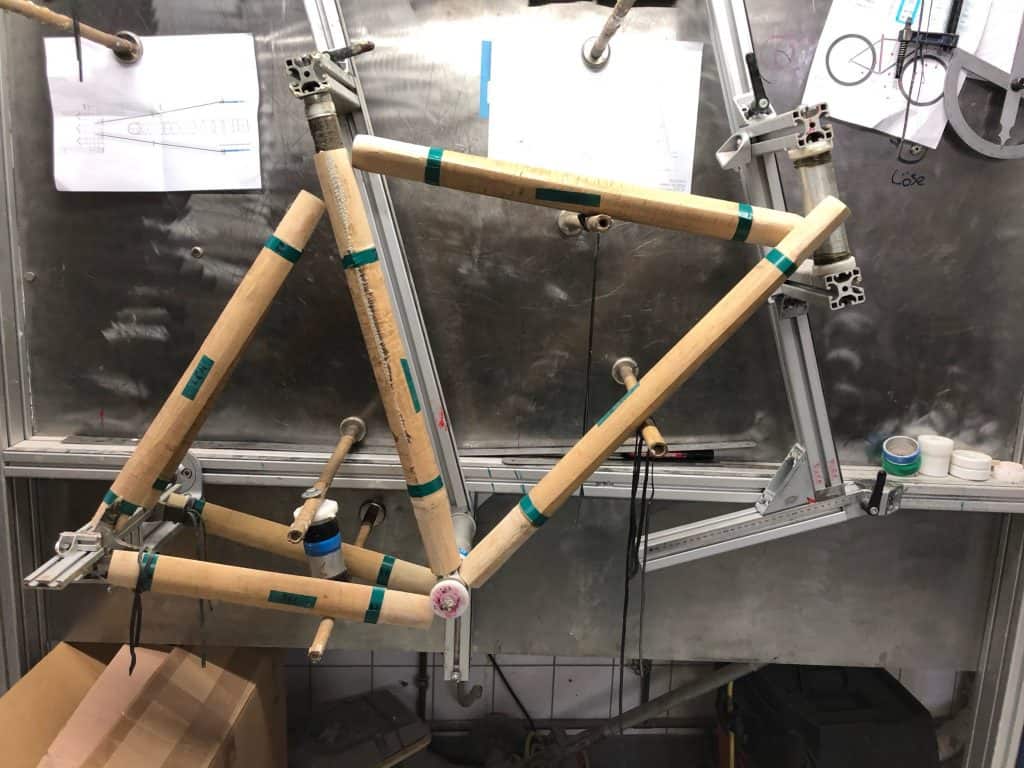
When all is fixated, you can take the frame out of you frame jig and mount it to your assembly stand and glue the joints with epoxy-microsphere putty. With an assembly stand you can plast the putty to the joins from any angle. All Joints must be sealed properly. Don’t put too buch on it, as the joints are rigid too, if they still are kind of slim and elegant. Try to bring it into a homogenous form, if possible.
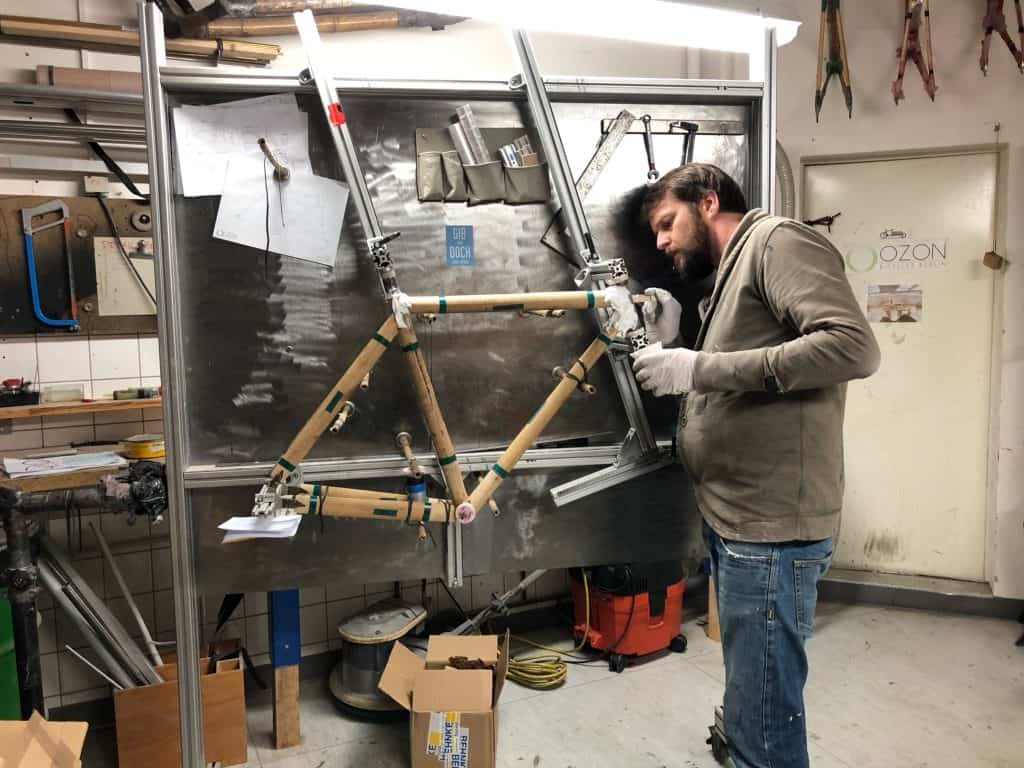
Here are some pictures of a different bike that I have built too (Uta). I haven’t taken it out of the jig and have used a different jig. The jig I have used are the ones from the bamboo bike frame kit. They work just as good. BUT I have used way too much putty and had to grate it all down again. This was way too much work, that has kept me swearing for quite some time and gave me a tennis elbow. So be easy in the putty!!!!

it’s easiest, if you stick the paining with adhersive spray to a board and then fix the jig to it.

Again:
Use as few putty as possible. All will be grated and sanded town to a minimum. The putty is giving the bike it’s form and not it’s stability.
So this was day 2. Now all need to harden which takes a day. Do tomorrow on day 3 I can proceed…
